
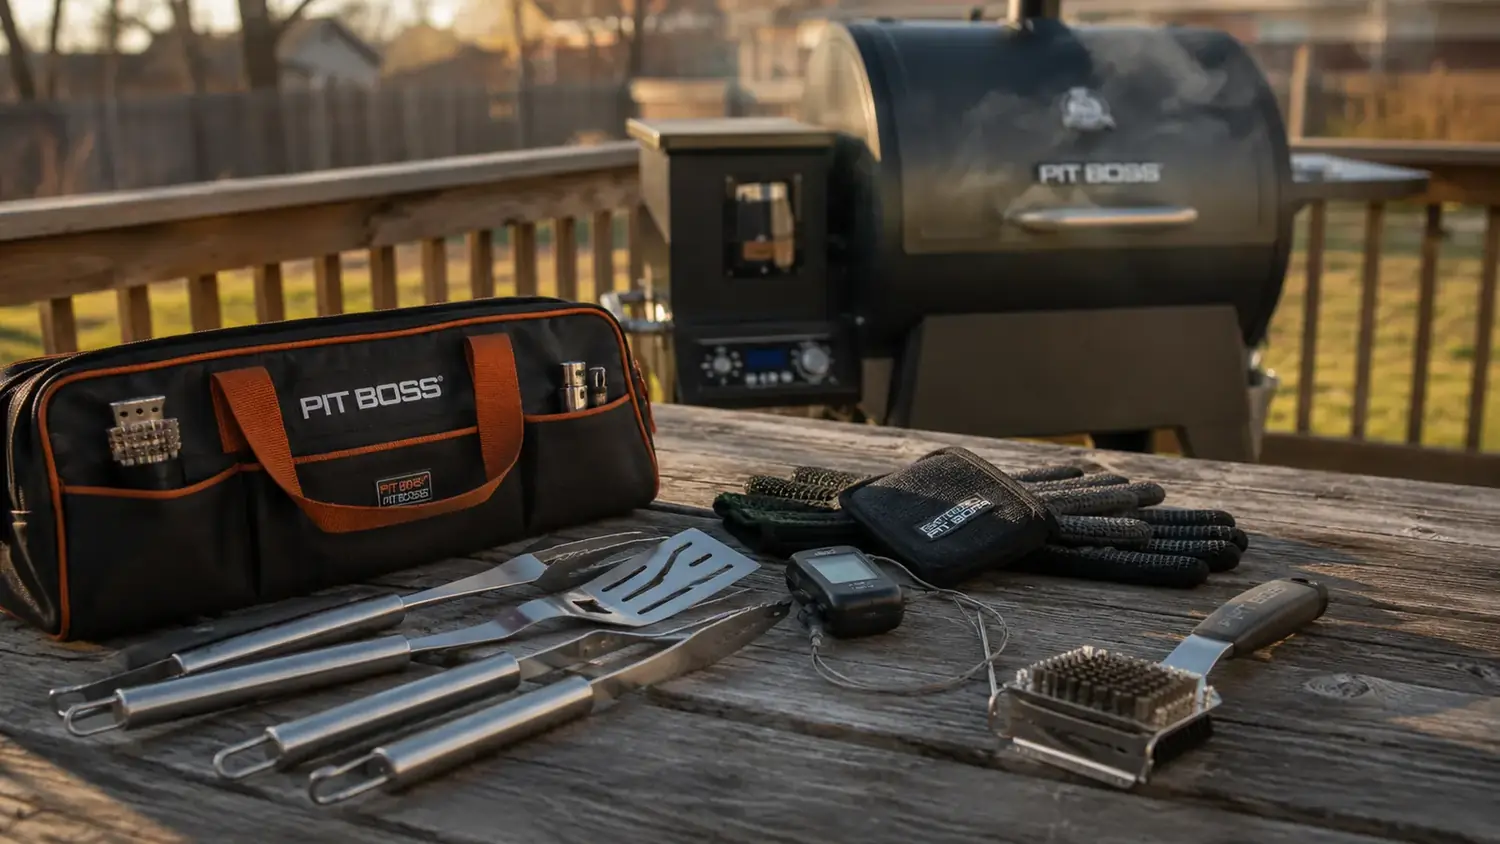
For about twenty years, my grilling kit was whatever was closest to the back door. A bent spatula from a gas station rack. A pair of tongs I'd borrowed from Diane's kitchen drawer and never gave back. It worked, more or less, the way a screwdriver works as a hammer if you swing it hard enough. Then a few summers back my son-in-law gave me an Alpha Grillers set for Father's Day, and I realized how much I'd been fighting my own tools without knowing it.
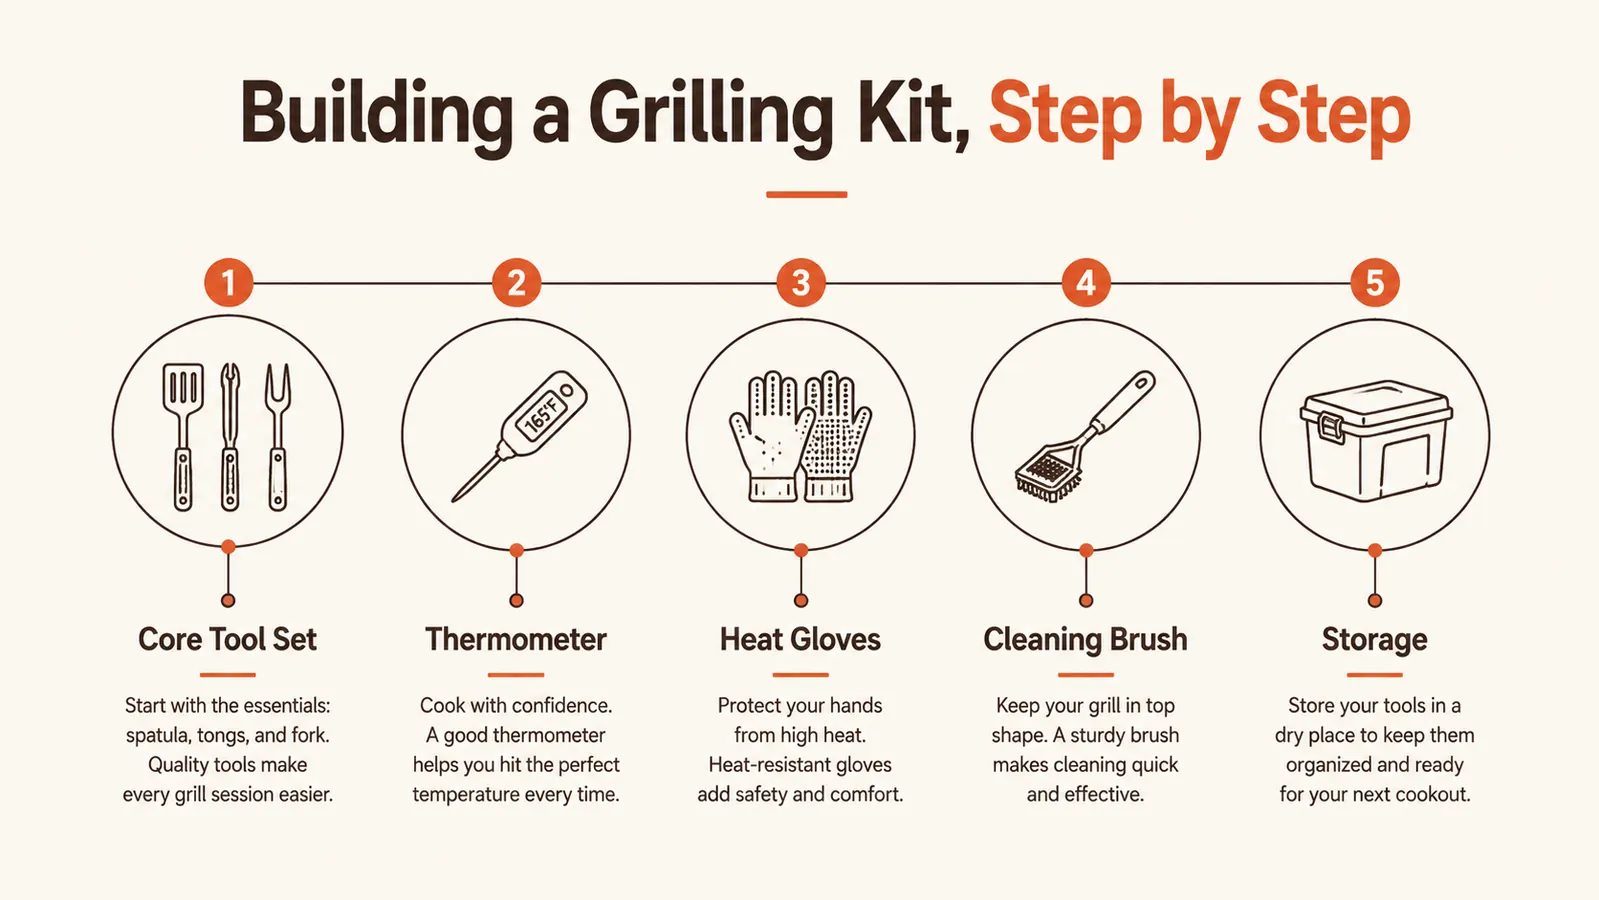
That gift is what got me thinking about a grilling kit as a system instead of a junk drawer. There's an order to building one out right, and it's not the order most people shop in. They buy a smoker cover first, or a cute apron, before they've got a spatula that won't buckle under a full rack of ribs. So this is the order I'd tell my own son to buy in, five steps, starting with the Alpha Grillers set because it's the piece that gets used at every single cookout, not just the special ones.
Start with the tool set that does the most work
The Alpha Grillers spatula, tongs, fork and brush are the four tools I reach for at every cookout, from Tuesday burgers to a full rack of ribs. Check today's price and see why it's the anchor of this whole kit.
Amazon Check Today's Price on Amazon →Step 1: Anchor the Kit With One Solid Multi-Tool Set
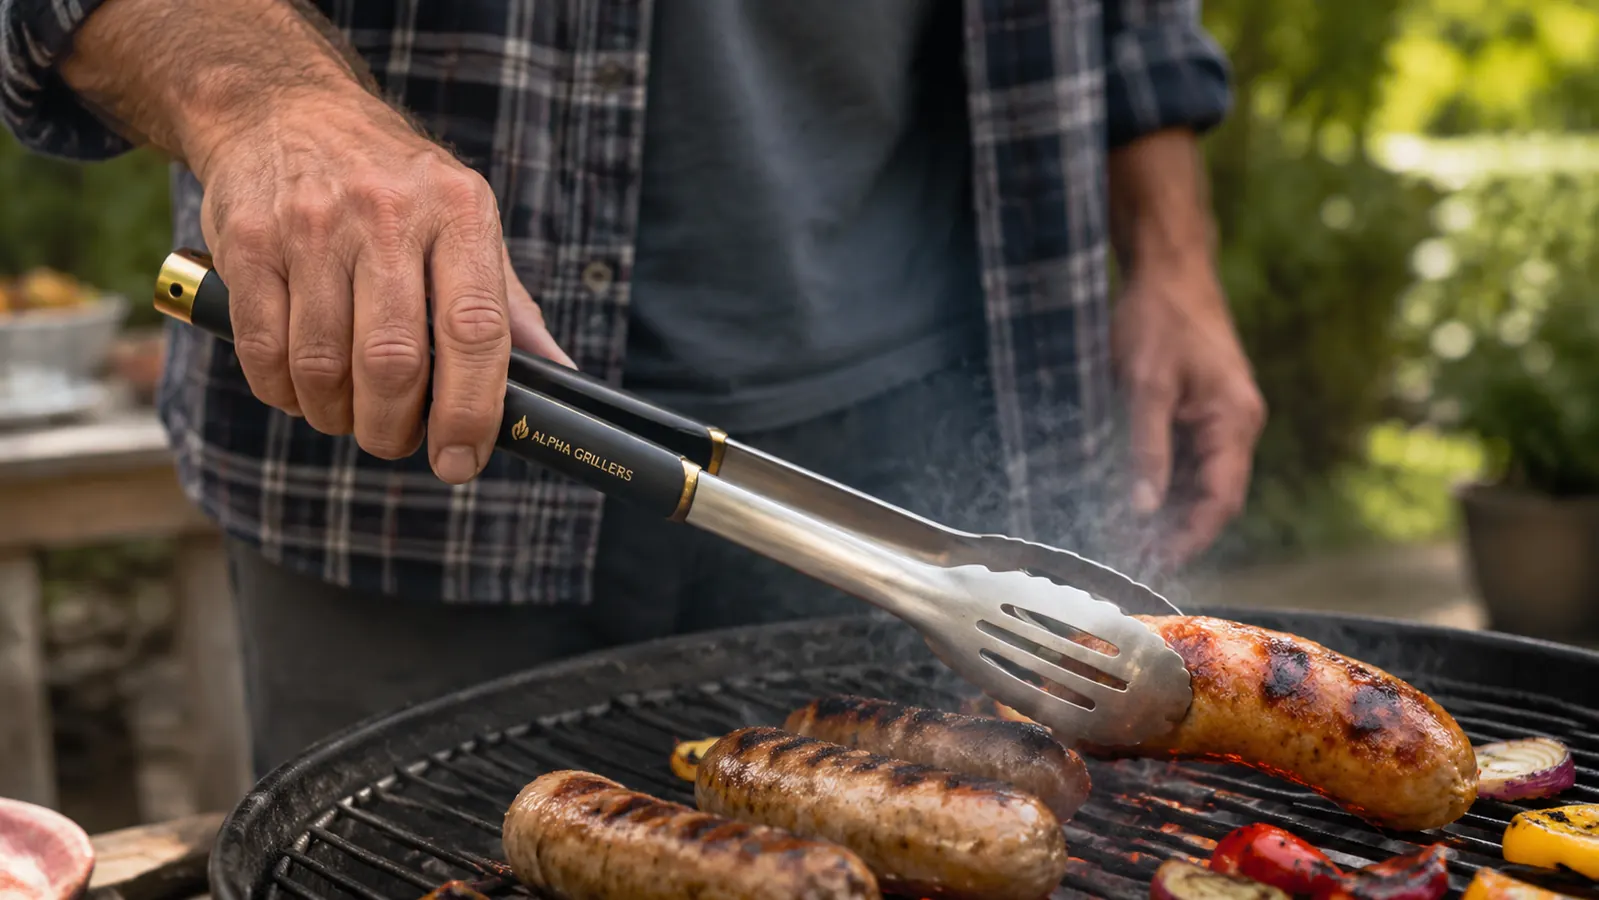
Everything else in a grilling kit is a specialist. The spatula, tongs, fork and brush are the generalists, the tools that touch food at nearly every cookout regardless of what's on the grate. That's why I put a real matched set first instead of last. The Alpha Grillers set is the one I've had the longest, and the thing that sold me on it wasn't the price, it was the handle length. At just over sixteen inches, the tongs keep my knuckles a good six to eight inches further from the flame than the drawer tongs I used to grab, which matters more than people think once you've had a grease flare-up singe an arm hair or two.
The build quality matters just as much as the length. I've had cheap grill tools where the spatula head wobbled on the handle after a few uses, or the tong hinge loosened up until it wouldn't hold a grip on a bratwurst. The Alpha Grillers set is one-piece stainless steel through the working end, no rivets to work loose, no plastic joints to melt if you set them down too close to the firebox. Diane still gives me grief about how many spatulas I went through before this one stuck around.
If you buy nothing else in this whole guide, buy the core set first. It's the difference between a kit and a pile of gadgets. Everything I add in the next four steps is there to round out what a spatula and tongs can't do on their own, not to replace them.
One more thing worth saying about Step 1: buy the set, not the individual pieces. I priced it out once, wondering if I could grab a better spatula here and cheaper tongs there and save a few dollars. By the time I added up four separate purchases with four separate shipping charges, the matched Alpha Grillers set came out ahead on price and I still ended up with tools that were built to the same standard instead of a mismatched drawer all over again.
Step 2: Add a Real Meat Thermometer, Not a Guess
For most of my grilling life I judged doneness by poking a burger with my finger and hoping. That's fine for burgers. It's a bad bet for a pork shoulder or a thick pork chop, where the gap between safe and dry is about four degrees. The second piece I'd add to any kit is a real instant-read or wireless probe thermometer, something that gives you a number instead of a guess.
I run a wireless probe thermometer on my Pit Boss now for anything over an inch thick, and it's changed how I cook chicken thighs especially. I used to pull them early out of nerves about undercooking and end up with rubbery meat, or leave them too long and dry them out compensating. A thermometer takes the nerves out of it. You set the target, you walk away, it tells you when to come back.
This is the step people skip because it doesn't feel as essential as tongs. I'd argue it's just as essential, it just protects you from a different kind of mistake, the kind where the food looks perfect on the outside and isn't safe in the middle. Pair it with the tool set from Step 1 and you've already covered the two jobs that happen at every single cookout, moving food and knowing when it's done.
A thermometer also changes how you shop for meat in the first place. Once you know you can hit a target temperature reliably, you stop overbuying the thick-cut, forgiving pieces out of caution and start grilling thinner cuts you might have avoided before, because you trust yourself to catch the exact moment they're done instead of pulling them early out of habit.
Step 3: Protect Your Hands With Real Heat-Resistant Gloves
I went years using a folded dish towel to move a hot grate or shift coals around, and I've got a scar on my left forearm from a July afternoon when that towel slipped. A proper pair of heat-resistant gloves is the third piece I'd add, and it's the one most backyard grillers underestimate until they've been burned once, usually literally.
The gloves I use now go up past my wrist, which matters more than the palm rating most people shop for. Most burns I've seen happen at the forearm, reaching over a hot grate or lifting a full charcoal chimney, not at the fingertips. A good pair also lets you actually feel what you're gripping, which a bulky oven mitt doesn't. I can still pick up a single wing off a crowded grate wearing mine, something I couldn't do with the mitts Diane keeps in the kitchen.
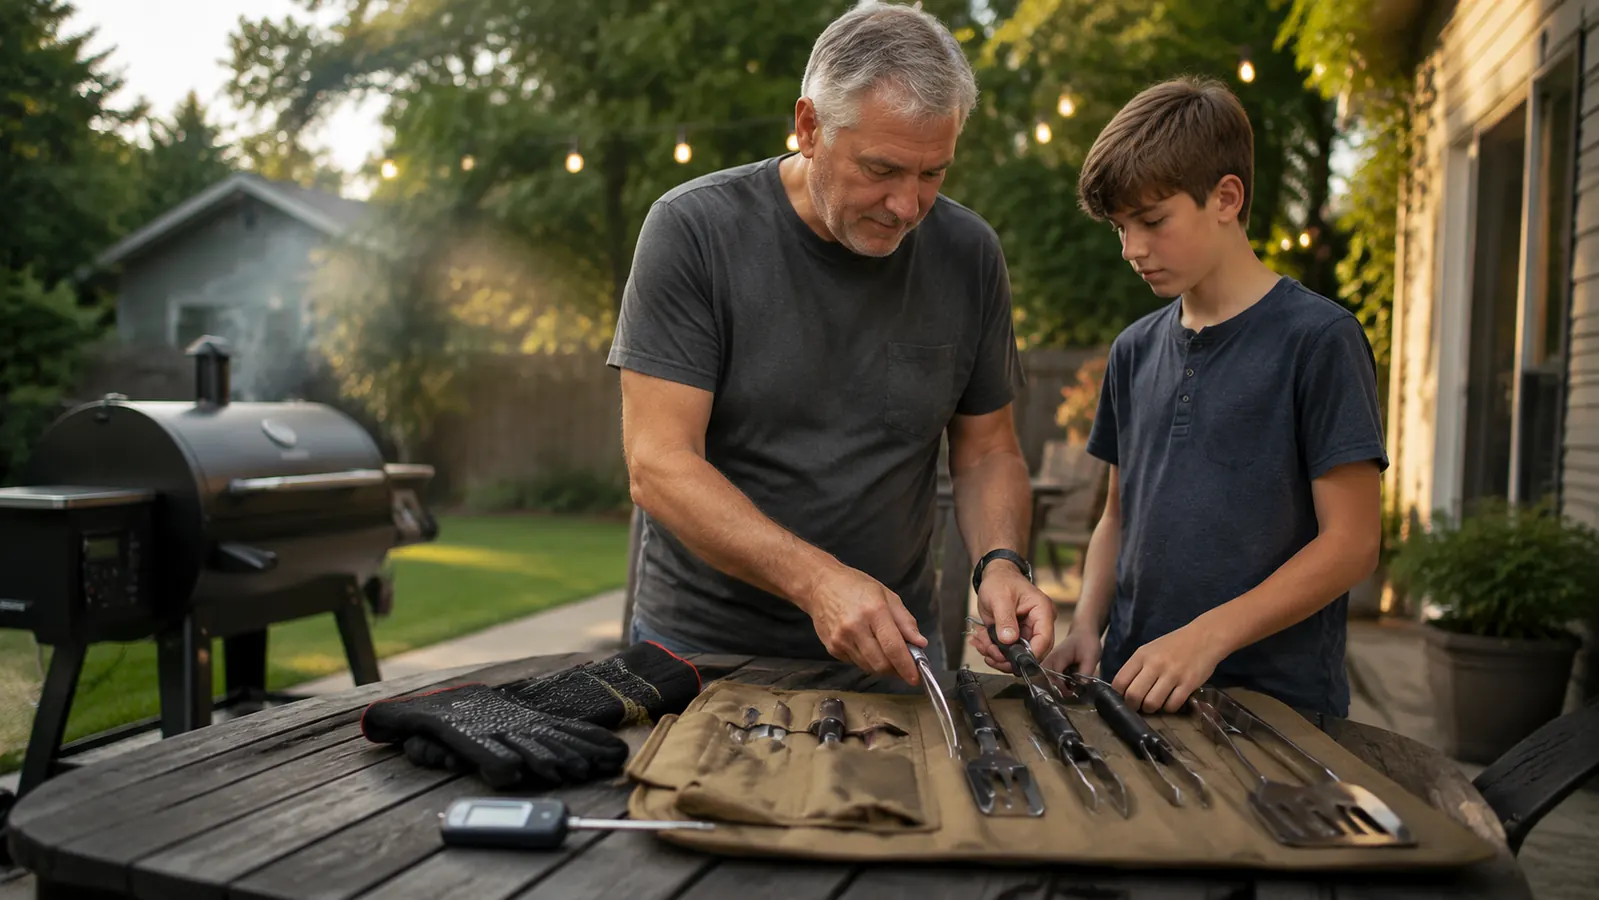
This is also the piece I hand to Eli when he wants to help move something off the grill. Twelve years old and already better with tongs than half the guys I grew up grilling next to, but I still make him glove up before he touches anything that's been over the fire. Good habits start with good gear.
There's also a confidence factor that's easy to overlook. When your hands are properly protected, you move faster and more decisively around the fire, which actually makes you safer, not less careful. Hesitating over a hot grate because you're worried about your hands is how spills and drops happen. Gloves that actually work let you commit to the move.
Step 4: Keep the Grates Clean With a Proper Brush
The Alpha Grillers set includes a basting brush for sauces and marinades, and that one earns its keep every rib night. But a separate grate cleaning brush is the fourth piece I'd add, because scraping cold, caked-on grease off cast iron grates isn't the same job as basting a rack of ribs, and one tool trying to do both jobs usually does neither one well.
I switched to a bristle-free grate brush a couple years back, mostly because I read one too many stories about loose wire bristles ending up in someone's dinner. A coiled stainless or nylon-scraper style brush does the job without shedding anything into the food, and it holds up better over a season than the wire brushes I used to burn through by August.
Clean grates aren't just about looks either. A grate with old carbon buildup holds heat unevenly and can pass old, bitter flavor onto new food. I run the brush over my grates while they're still warm, right after I pull the last thing off, which takes about ninety seconds and saves me a much longer scrub-down job later.
Timing matters too. I used to wait until the grates looked bad before I'd break out a brush, which meant fighting through weeks of buildup at once. Now I treat it the same way I treat washing a dish right after dinner instead of letting it sit in the sink. A quick pass every time beats a heavy scrub once a month, and it's a habit that only sticks once you've got a brush that's actually pleasant to use.
Step 5: Give the Whole Kit a Home
The last step isn't a tool at all, it's storage, and it's the one I ignored longest. For years my accessories lived in a coffee can by the back door, rusting a little every winter because nothing kept the moisture off them. A canvas storage case or a dedicated drawer near the grill is what actually keeps a kit a kit instead of a scattered pile of tools you're hunting for mid-cookout.
The Alpha Grillers set comes with its own case, and honestly that's half of why it's outlasted every other tool set I've owned. Everything has a slot, everything goes back in the same spot, and I'm not digging through a kitchen drawer with sauce on my hands looking for the fork while a rack of ribs sits uncovered on the counter.
If your kit doesn't come with a case, a cheap tool caddy or even a repurposed toolbox works fine. The goal is just one place, close to the grill, where every piece lives when it's not in your hand. It sounds like a small thing until you're the guy digging through three kitchen drawers with guests standing in the yard.
There's a side benefit to a dedicated storage spot that surprised me. Once everything has a home, I actually notice when something's missing or wearing out, instead of realizing three cookouts later that a fork tine snapped off. A kit you can see at a glance is a kit you actually maintain.
What Else Helps
Once those five pieces are covered, the extras start to matter less than people think. A chimney starter if you run charcoal on the Weber kettle. A rimmed sheet pan for carrying raw meat out and cooked meat back in, so you're not cross-contaminating a serving platter. An apron with a real pocket, not for style, just somewhere to keep the thermometer probe when your hands are full. None of that replaces the five steps above, it just smooths out the edges.
I'd also say don't buy everything at once. I built my kit out over a couple of grilling seasons, replacing one piece at a time as the old version failed or annoyed me enough to act on it. Starting with the tool set from Step 1 means you're covered for the vast majority of what actually happens at a cookout while you fill in the rest.
The other thing I'd tell you is to actually use the kit before you decide what's missing. I've seen people buy every accessory on the shelf before their first cookout of the season, then discover half of it never leaves the drawer. Cover the five steps above first, grill with just that for a month, and you'll know exactly what your own habits actually call for instead of guessing at it in a store aisle.
A grilling kit isn't a pile of gadgets. It's five jobs covered, and everything else is just polish.
Anchor your kit the same place I anchored mine
If you're starting from scratch, start with the Alpha Grillers spatula, tongs, fork and brush set. It's the one piece in this whole guide that gets used every single time you grill.
Amazon Check Today's Price on Amazon →